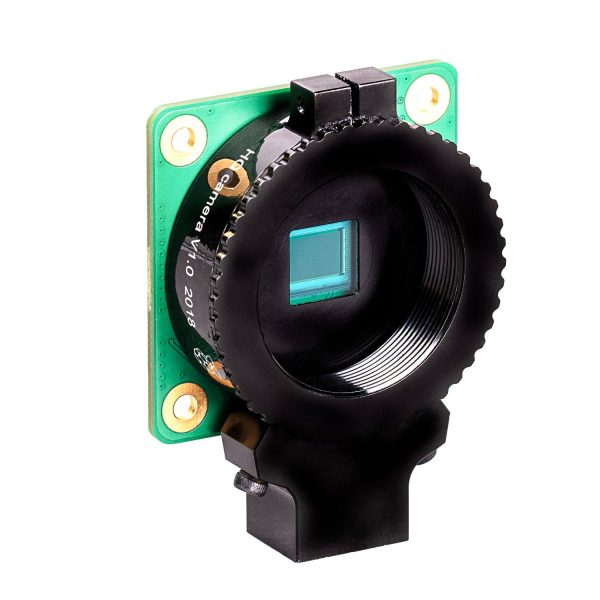
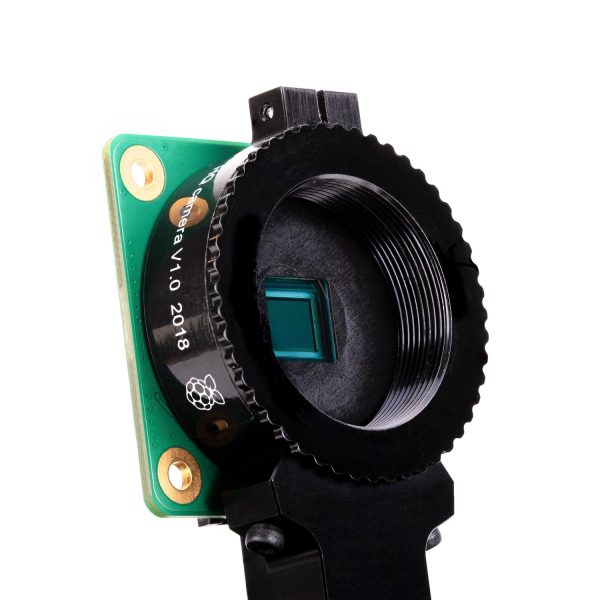
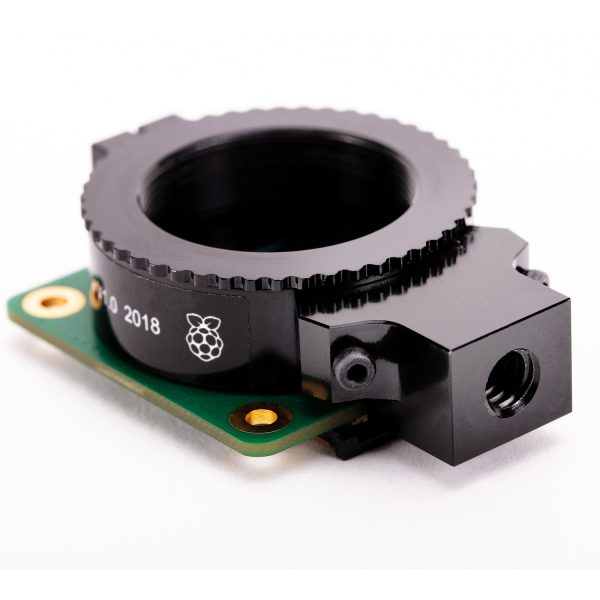
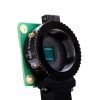
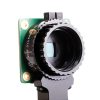
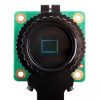
The Raspberry Pi High Quality Camera is an upgraded 12 megapixel, high sensitivity camera for Raspberry Pi with an adjustable focus aluminium lens mount.
Note: A C- or CS-mount lens is essential but not included!
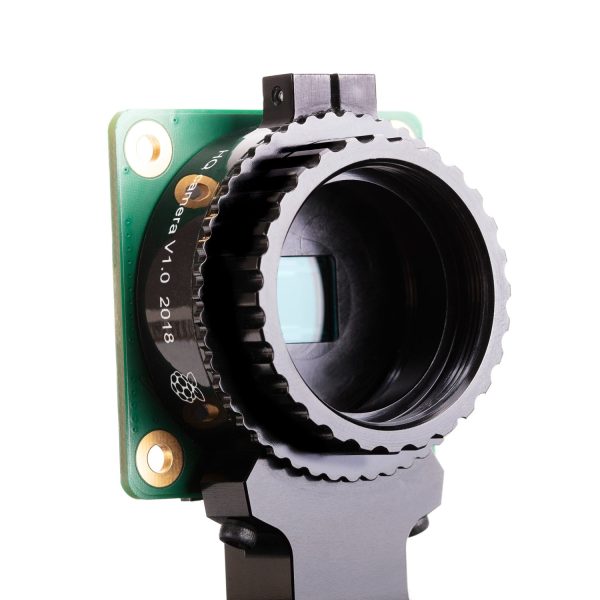
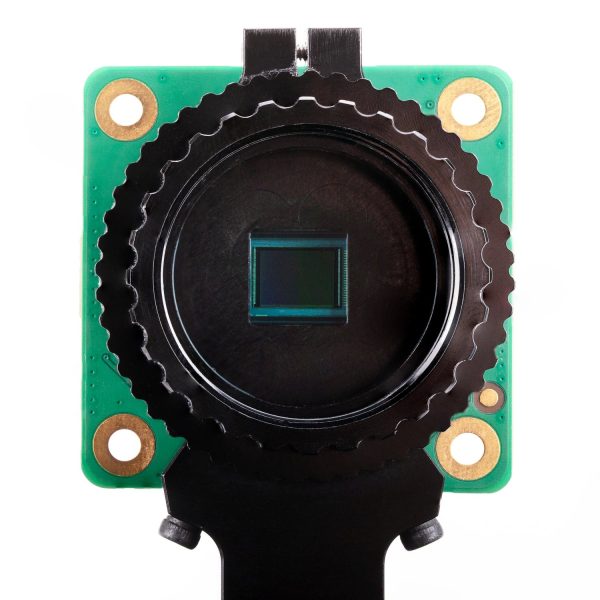
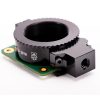
It offers higher resolution (12 megapixels instead of 8 megapixels) and improved low-light performance (approximately 50% greater area per pixel) compared to the existing Camera Module v2. The milled aluminium adjustable focus lens mount is designed to work with a variety of C- and CS-mount lenses and also includes an integrated tripod mount.
The HQ camera is great for projects where you want to see all the details (such as security cameras), or for ones where you want to use specialist lenses (such as wildlife or sky photography!) It’s compatible with all models of Raspberry Pi computers*.
Specifications
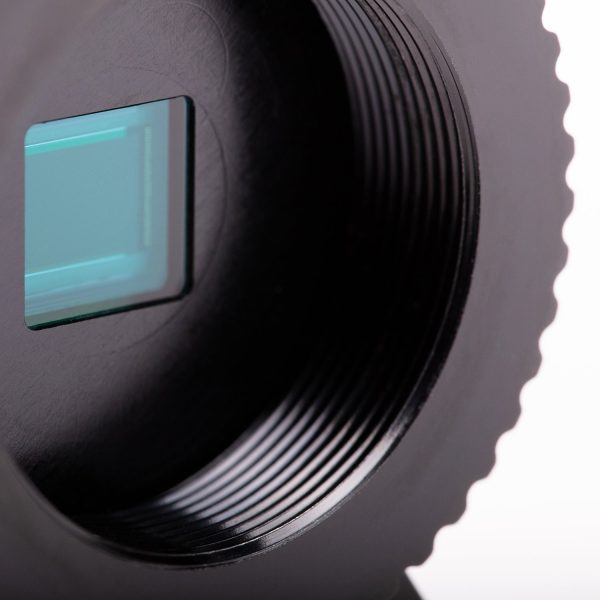
| Sensor: | Sony IMX477R stacked, back-illuminated sensor 12.3 megapixels 7.9 mm sensor diagonal 1.55 μm × 1.55 μm pixel size |
| Output: | RAW12/10/8, COMP8 |
| Back focus: | Adjustable (12.5 mm–22.4 mm) |
| Lens standards: | C-mount CS-mount (C-CS adapter included) Other form factor lenses can be used with a third party adaptor |
| IR cut filter: | Integrated (can be removed to enable IR sensitivity, though this is irreversible) |
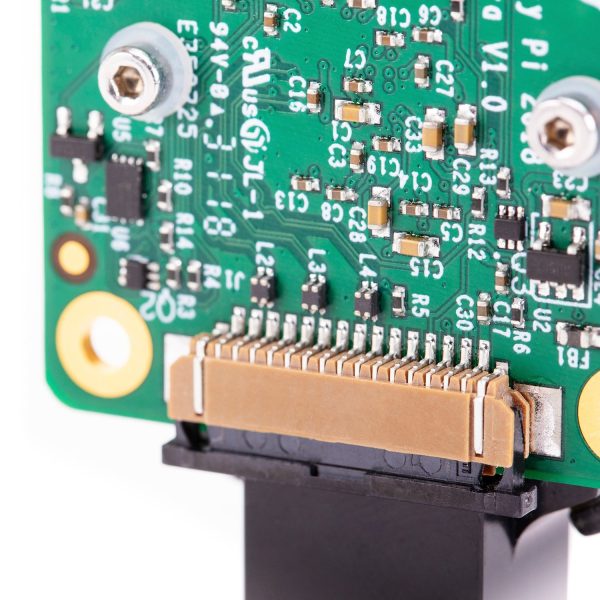
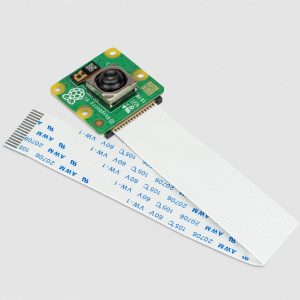
| Ribbon cable length: | 200 mm* |
| Tripod mount: | 1/4”-20 |
* The included cable won’t fit the smaller camera port on a Pi Zero, though our Pi Zero camera cable will!
Documents
- Raspberry Pi High Quality Camera documentation
- Getting Started with Raspberry Pi Camera Software
- Raspberry Pi High Quality Camera product brief
- Raspberry Pi High Quality Camera CS Mount mechanical drawing
- Raspberry Pi High Quality Camera M12 Mount mechanical drawing
- Example fitting instructions for a typical C-mount lens
- Example fitting instructions for a typical CS-mount lens
Notes
- Before connecting the camera, shut down your Raspberry Pi computer and disconnect it from external power.
- If the cable becomes detached, pull the locking mechanism forward on the connector, insert the ribbon cable ensuring the metal contacts face towards the circuit board, then push the locking mechanism back into place.

Reviews
There are no reviews yet.